Why Freeze Apples? Savoring the Harvest Year-Round
There's a special joy in the crisp bite of a freshly picked apple, a hallmark of autumn's bounty. Whether you've just returned from an apple orchard with bushels of Honeycrisps and Galas, or you simply want to prevent a forgotten bag of McIntoshes from going mealy, you might find yourself with an abundance of this versatile fruit. The good news? Learning how to freeze apples is a simple yet incredibly effective way to extend their shelf life and enjoy their goodness long after the season ends. Freezing allows you to lock in that fresh flavor, making it possible to whip up homemade apple pies, smoothies, sauces, and other delicious treats throughout the year.
The primary benefit of freezing apples is waste reduction. Instead of letting surplus fruit spoil, you can preserve it for future use, ensuring that every delicious apple finds its purpose. While frozen apples won't retain their original crisp texture suitable for raw snacking, they transform into ideal ingredients for a myriad of cooked and blended applications. Imagine having pre-prepped apples ready for a cozy winter apple crumble or a refreshing summer smoothie. This guide will walk you through the most effective methods for freezing apples, ensuring you get the best results for your culinary adventures. For more detailed insights into specific techniques, you might also find value in our article on Enjoy Apples All Year: Freeze Your Harvest for Baking & Beyond.
Mastering the Art of Freezing Apple Slices (Most Recommended Method)
Freezing apples in slices is by far the most recommended and versatile method. It allows you to quickly grab the exact amount you need for your recipe without having to thaw and then chop a whole apple. This approach is perfect for pies, tarts, muffins, sauces, and even oatmeal.
Essential Preparation Steps for Apple Slices:
- Wash Thoroughly: Regardless of whether you plan to peel them, always start by washing your apples meticulously under cool running water. Microbes and contaminants are not destroyed by freezing, so a clean start is crucial. Dry them completely afterward.
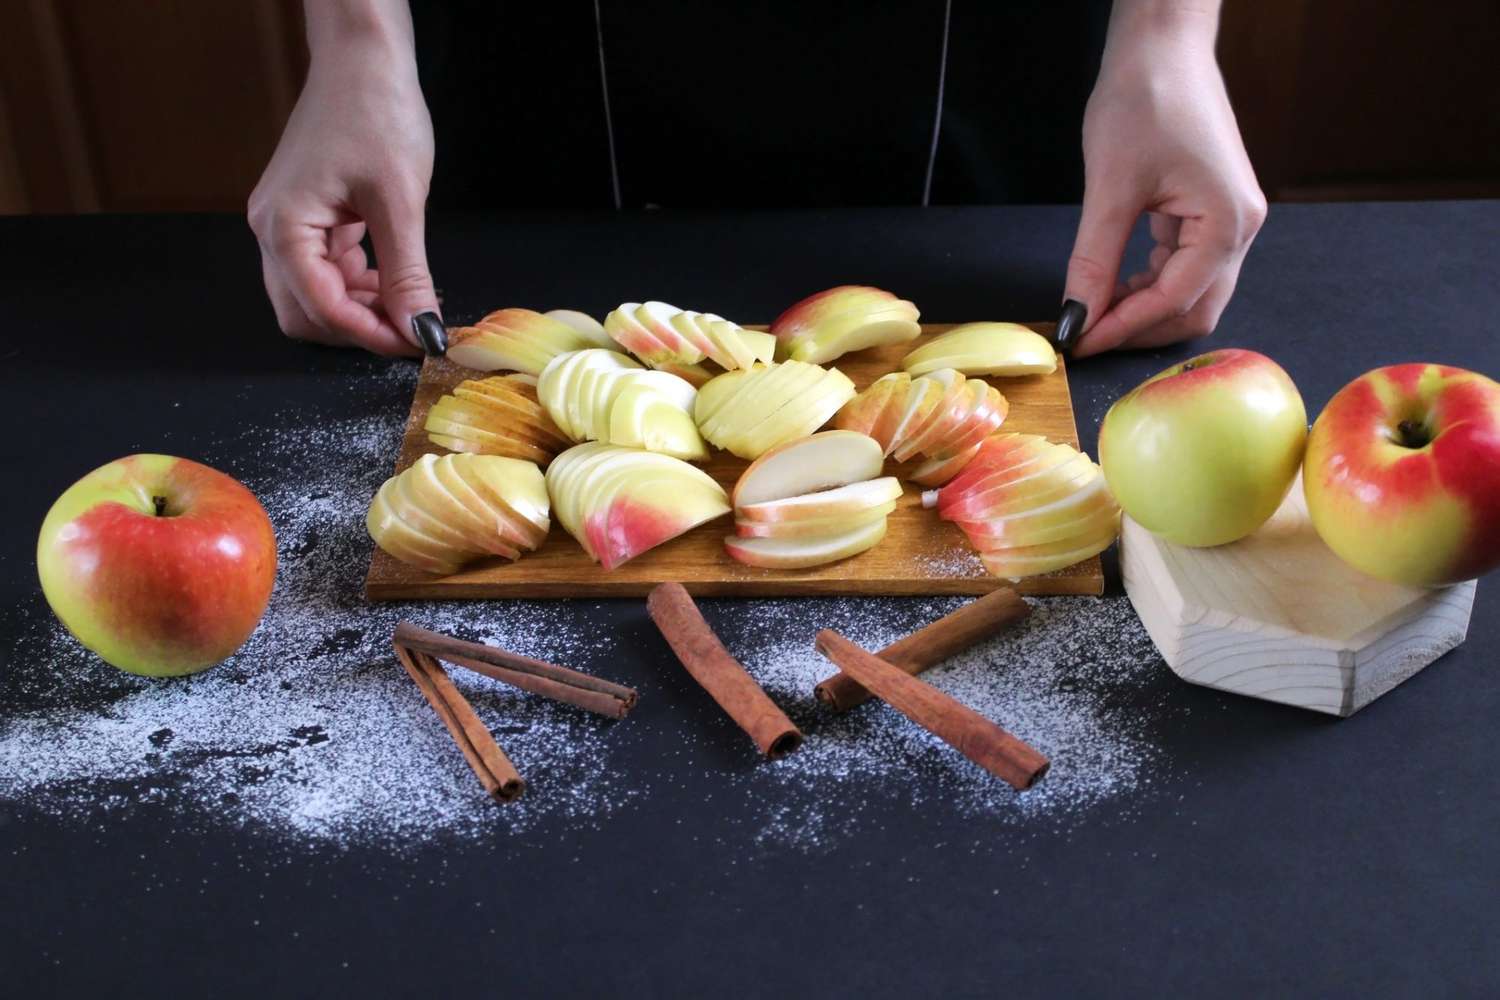
- Peel, Core, and Slice: This is where you prepare the apples according to your future culinary needs.
- Peeling: While optional for some recipes (like applesauce), peeling generally yields a better texture for baking and smoothies.
- Corning: Use an apple corer or a paring knife to remove the core efficiently.
- Slicing: Cut the apples into your desired size and shape. For pies and tarts, think wedges or thicker slices (about 1/4 to 1/2 inch thick). Smaller cuts might become too mushy upon thawing. For smoothies or applesauce, slightly smaller chunks are fine.
Pro Tip: Firmer, tarter apple varieties like Honeycrisp, Granny Smith, Fuji, or Braeburn tend to hold up better to freezing than softer, mealier types.
- Prevent Browning (Crucial Step): Once sliced, apples are prone to oxidation, which causes browning. To prevent this, immediately dip the apple slices into a bowl of water mixed with a little lemon juice. A good ratio is about 1 tablespoon of lemon juice per gallon of water. You can also use a commercial fruit protector or a citric acid solution. Soak for a few minutes, then drain thoroughly.
- Flash Freeze for Best Results: This step is vital for preventing your apple slices from clumping together into one giant frozen block.
- Arrange the drained apple slices in a single layer on a baking sheet lined with parchment paper. Ensure they don't touch each other.
- Place the baking sheet in the freezer for 2-4 hours, or until the slices are completely frozen solid.
- Transfer and Store: Once flash-frozen, transfer the solid apple slices into freezer-safe bags or airtight containers.
- Remove as much air as possible from freezer bags to prevent freezer burn (a vacuum sealer works wonders here!).
- Label the bags with the date and the quantity (e.g., "4 cups sliced apples - Oct 2023").
- Frozen apple slices can be stored for up to 6 months for optimal quality. Beyond that, they are still safe but may start to lose flavor or texture.
This method offers incredible convenience, allowing you to scoop out just the right amount of apples whenever inspiration strikes. For further reading on streamlining your apple freezing process, explore our guide on Freeze Apples Easily: Top Methods for Slices & Pie Filling.
Alternative Freezing Methods: Whole Apples & Pre-Made Pie Filling
While apple slices offer the most flexibility, there are other situations where alternative freezing methods might be suitable.
Freezing Whole Apples
Freezing whole apples is generally not recommended due to texture changes. Once thawed, whole apples will be mushy and difficult to slice or dice, making them unsuitable for most baking applications or fresh consumption. However, if you are absolutely set on it, perhaps for a very specific use like making a large batch of applesauce or apple butter where texture isn't paramount, here's how:
- Wash and Dry: Thoroughly wash the whole apples and dry them completely.
- Flash Freeze: Place the whole, unpeeled apples on a baking sheet, ensuring they don't touch, and freeze them until solid. This prevents them from sticking together.
- Store: Once frozen, transfer the apples to freezer bags. Seal and label with the date.
- Note: Thawing a whole frozen apple can take a long time, and the resulting texture will be significantly altered. They are best used directly from frozen into a cooking pot.
Freezing Pre-Made Apple Pie Filling
If you're a keen baker and know you'll be making apple pies regularly, freezing pre-made pie filling is a fantastic time-saver. It's like having a homemade convenience meal ready for dessert!
- Prepare Your Filling: Peel, core, and slice apples according to your favorite apple pie recipe. Sweeten and season with sugar, cinnamon, nutmeg, and any other spices you prefer, just as you would for a fresh pie.
- Pre-Freeze in Form: Pour the mixed pie filling into a pie pan lined with aluminum foil. This helps the filling retain the pie shape.
- Freeze Solid: Place the pie pan with the filling in the freezer until it's completely frozen.
- Remove and Store: Once solid, carefully lift the frozen apple filling out of the pie pan using the foil lining. Place the frozen "disk" of filling into a large freezer-safe bag or container. Seal, label with the date and contents (e.g., "Apple Pie Filling - Oct 2023"), and return to the freezer.
- Baking with Frozen Filling: When you're ready to bake, simply drop the frozen filling into an unbaked pie crust. You may need to add a bit more baking time (perhaps 15-20 minutes longer) than a pie made with fresh filling, but it's often similar to baking a store-bought frozen pie.
Thawing and Enjoying Your Frozen Apples: Culinary Applications
Understanding how to freeze apples is only half the battle; knowing how to use them once frozen is equally important. Remember, the freezing process breaks down cell walls, which means frozen apples will be softer than fresh ones. They are best suited for cooked dishes where their texture contributes positively.
- For Baking: For most baked goods like pies, crumbles, muffins, or cakes, you can often use frozen apple slices directly from the freezer. If your recipe calls for fresh apples, you might need to adjust baking time or account for extra moisture released by the frozen fruit. Draining excess liquid after a brief thaw can be helpful for pies.
- For Smoothies: Frozen apple chunks are perfect for smoothies. They add a great flavor and help create a thick, cold consistency without needing ice. No thawing required!
- For Sauces and Butters: Whether you're making applesauce, apple butter, or savory apple chutneys, frozen apples are ideal. You can add them directly to a pot with a little water or juice and cook them down.
- For Breakfasts: Stir frozen apple slices into oatmeal, porridges, or even pancakes and waffles for an instant fruity boost.
If a recipe specifically requires thawed apples, you can transfer them to the refrigerator overnight or use the defrost setting on your microwave. Be sure to drain any excess liquid that accumulates, especially for recipes where moisture content is critical, like pies.
Tips for Success: Maximizing Freshness and Minimizing Waste
To ensure your efforts in freezing apples yield the best results, keep these additional tips in mind:
- Choose the Right Apples: As mentioned, firm, slightly tart varieties work best for freezing, retaining more flavor and structure.
- Label Everything: This cannot be stressed enough! Always label your freezer bags or containers with the contents, date, and sometimes even the quantity. This prevents mystery ingredients and ensures you use older items first.
- Remove Air from Bags: Air is the enemy of frozen food, leading to freezer burn. Squeeze out as much air as possible from freezer bags, or invest in a vacuum sealer for professional-grade preservation.
- Don't Overfill: Leave a little headspace in containers or bags, as some foods can expand slightly when frozen.
- Freeze in Usable Portions: Think about how you typically use apples. If you usually make a pie that calls for 6 cups of apples, freeze them in 6-cup portions. This saves time and prevents you from thawing more than you need.
- Freezer Burn Prevention: Proper sealing and minimizing air exposure are your best defenses against freezer burn, which can dry out and alter the taste of your frozen apples.
By following these guidelines on how to freeze apples, you'll successfully preserve your harvest, reduce food waste, and gain the convenience of having apples ready for any recipe, any time of the year. Enjoy the delicious journey from orchard to freezer to plate!
